
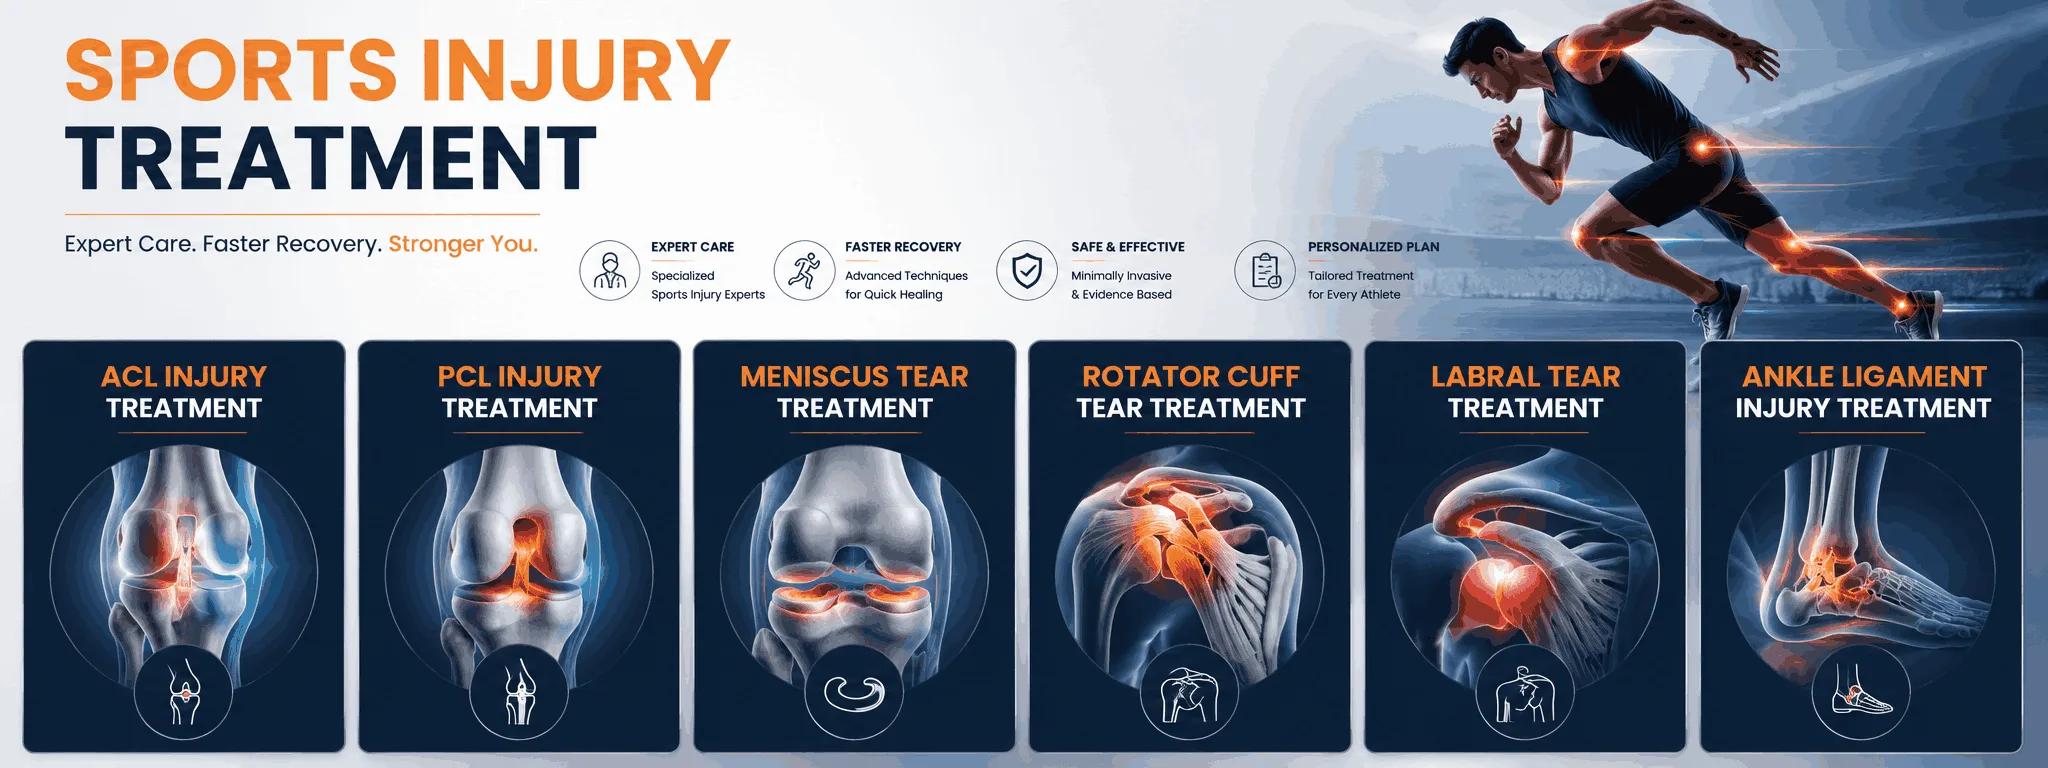
Understanding Rotator Cuff Repair
Rotator cuff repair re-attaches torn tendons back to their footprint on the arm bone, usually through keyhole (arthroscopic) surgery. It relieves pain and restores the strength needed to lift and rotate the arm.
Tiny anchors loaded with strong sutures hold the tendon securely to the bone while it heals. Because tendon-to-bone healing takes time, a carefully staged rehabilitation programme protects the repair early and then progressively rebuilds strength.
Key benefits
- Relieves pain, including the night pain typical of cuff tears
- Restores lifting and overhead strength
- Keyhole technique with secure anchor fixation
When Rotator Cuff Repair is recommended
How the procedure is performed
Assessment
The tear is visualised arthroscopically and its bony footprint is prepared for healing.
Anchoring
Suture anchors are placed into the bone at the tendon's natural attachment.
Repair
The tendon is drawn back and secured firmly to the bone under the right tension.
Protection
The arm rests in a sling to protect the repair while the tendon heals to bone.
Preparation & prerequisites
- A detailed clinical assessment and review of your scans (X-ray / MRI) to confirm the diagnosis and plan the surgery precisely.
- Routine pre-operative blood tests, an ECG if needed, and a fitness-for-anaesthesia check by the anaesthetist.
- Stopping blood-thinning medication (such as aspirin or clopidogrel) only if advised, and disclosing every medicine and supplement you take.
- Fasting for around 6 hours before surgery, and arranging a responsible adult to drive you home and stay with you the first night.
- Preparing your home for recovery — ice packs, loose clothing, and a clear path free of trip hazards.
What recovery looks like
Weeks 0–6
A sling protects the repair while gentle passive movement prevents stiffness.
Weeks 6–12
Active movement is introduced as the tendon heals to the bone.
Months 3–6
Progressive strengthening rebuilds power for a return to full activity.
How to recover well
- Follow the RICE principle early — rest, ice 15–20 minutes several times a day, gentle compression and elevation to control swelling.
- Take pain relief as prescribed rather than waiting for pain to build, and keep the wound clean and dry.
- Attend every physiotherapy session and do your home exercises — rehabilitation is as important as the surgery itself.
- Progress activity gradually and don't return to sport until you're formally cleared, to protect the repair.
- Watch for warning signs — spreading redness, fever, calf pain or increasing swelling — and call us if they appear.
Risks, safety & outcomes
In experienced hands this is a very safe procedure, and serious problems are uncommon. Every step is taken to minimise risk — but being fully informed is part of good care. Possible risks include:
- Re-tear, more likely with larger tears or if rehab is rushed
- Temporary stiffness, reduced with early guided movement
- The usual small arthroscopic surgical risks
Results & outlook
Most patients gain excellent, lasting relief of pain and a strong, functional shoulder. Following the staged rehabilitation carefully gives the tendon the best chance to heal securely.
Frequently asked questions
Usually around four to six weeks to protect the tendon while it heals to the bone.